Pool winterization - how to close for winter
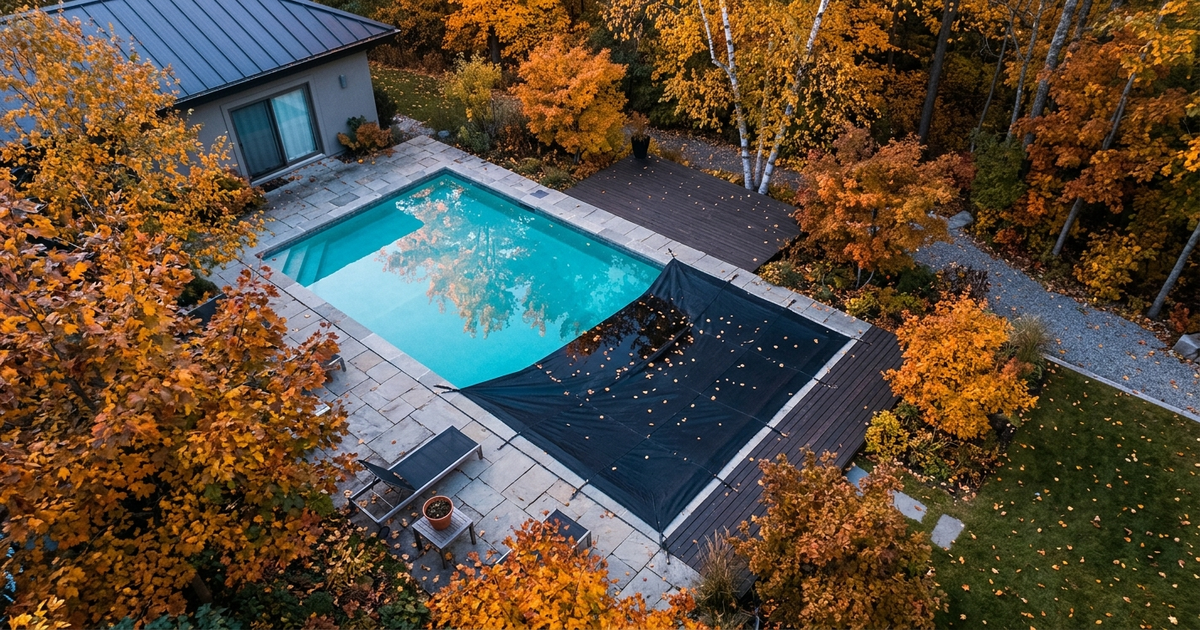
Pool winterization is the process of balancing water chemistry, shocking, lowering the water level, clearing all plumbing of water, and sealing the pool under a cover so it survives freezing temperatures without damage. Do it well and spring opening takes two hours and one jug of chlorine. Skip a step and you will spend $2,000 fixing a cracked underground return line you cannot even see.
I have closed my own pool every October for the last nine years. The first year I did it wrong (left the heater wet, used too little antifreeze, and shocked a week too early) and spent the next April rebuilding plumbing and chasing algae. Everything below is what I do now, in order, with the numbers I actually use.
When to Close: Water Temperature, Not the Calendar
Close your pool when water temperature stays below 65°F for three to five consecutive days. That is the threshold where algae metabolism slows enough that a properly shocked, properly covered pool will hold clear water through five months of winter. Below 60°F, algae are essentially dormant.
The calendar is a bad proxy because fall arrives at different times each year. In Massachusetts I usually close between October 5 and October 20. In Ohio it is mid-October. In northern New York it can be late September. South of the Mason-Dixon line, the question is whether the ground freezes at all. If your overnight lows do not drop below 28°F for more than a night or two, you may be running an "off-season" rather than a true winterization, and most of the plumbing protection steps still apply on a smaller scale.
Wait until water stays below 65°F for 3+ days before closing. Closing above 70°F traps active algae under the cover and guarantees a green pool in spring.
Two real costs of closing too early:
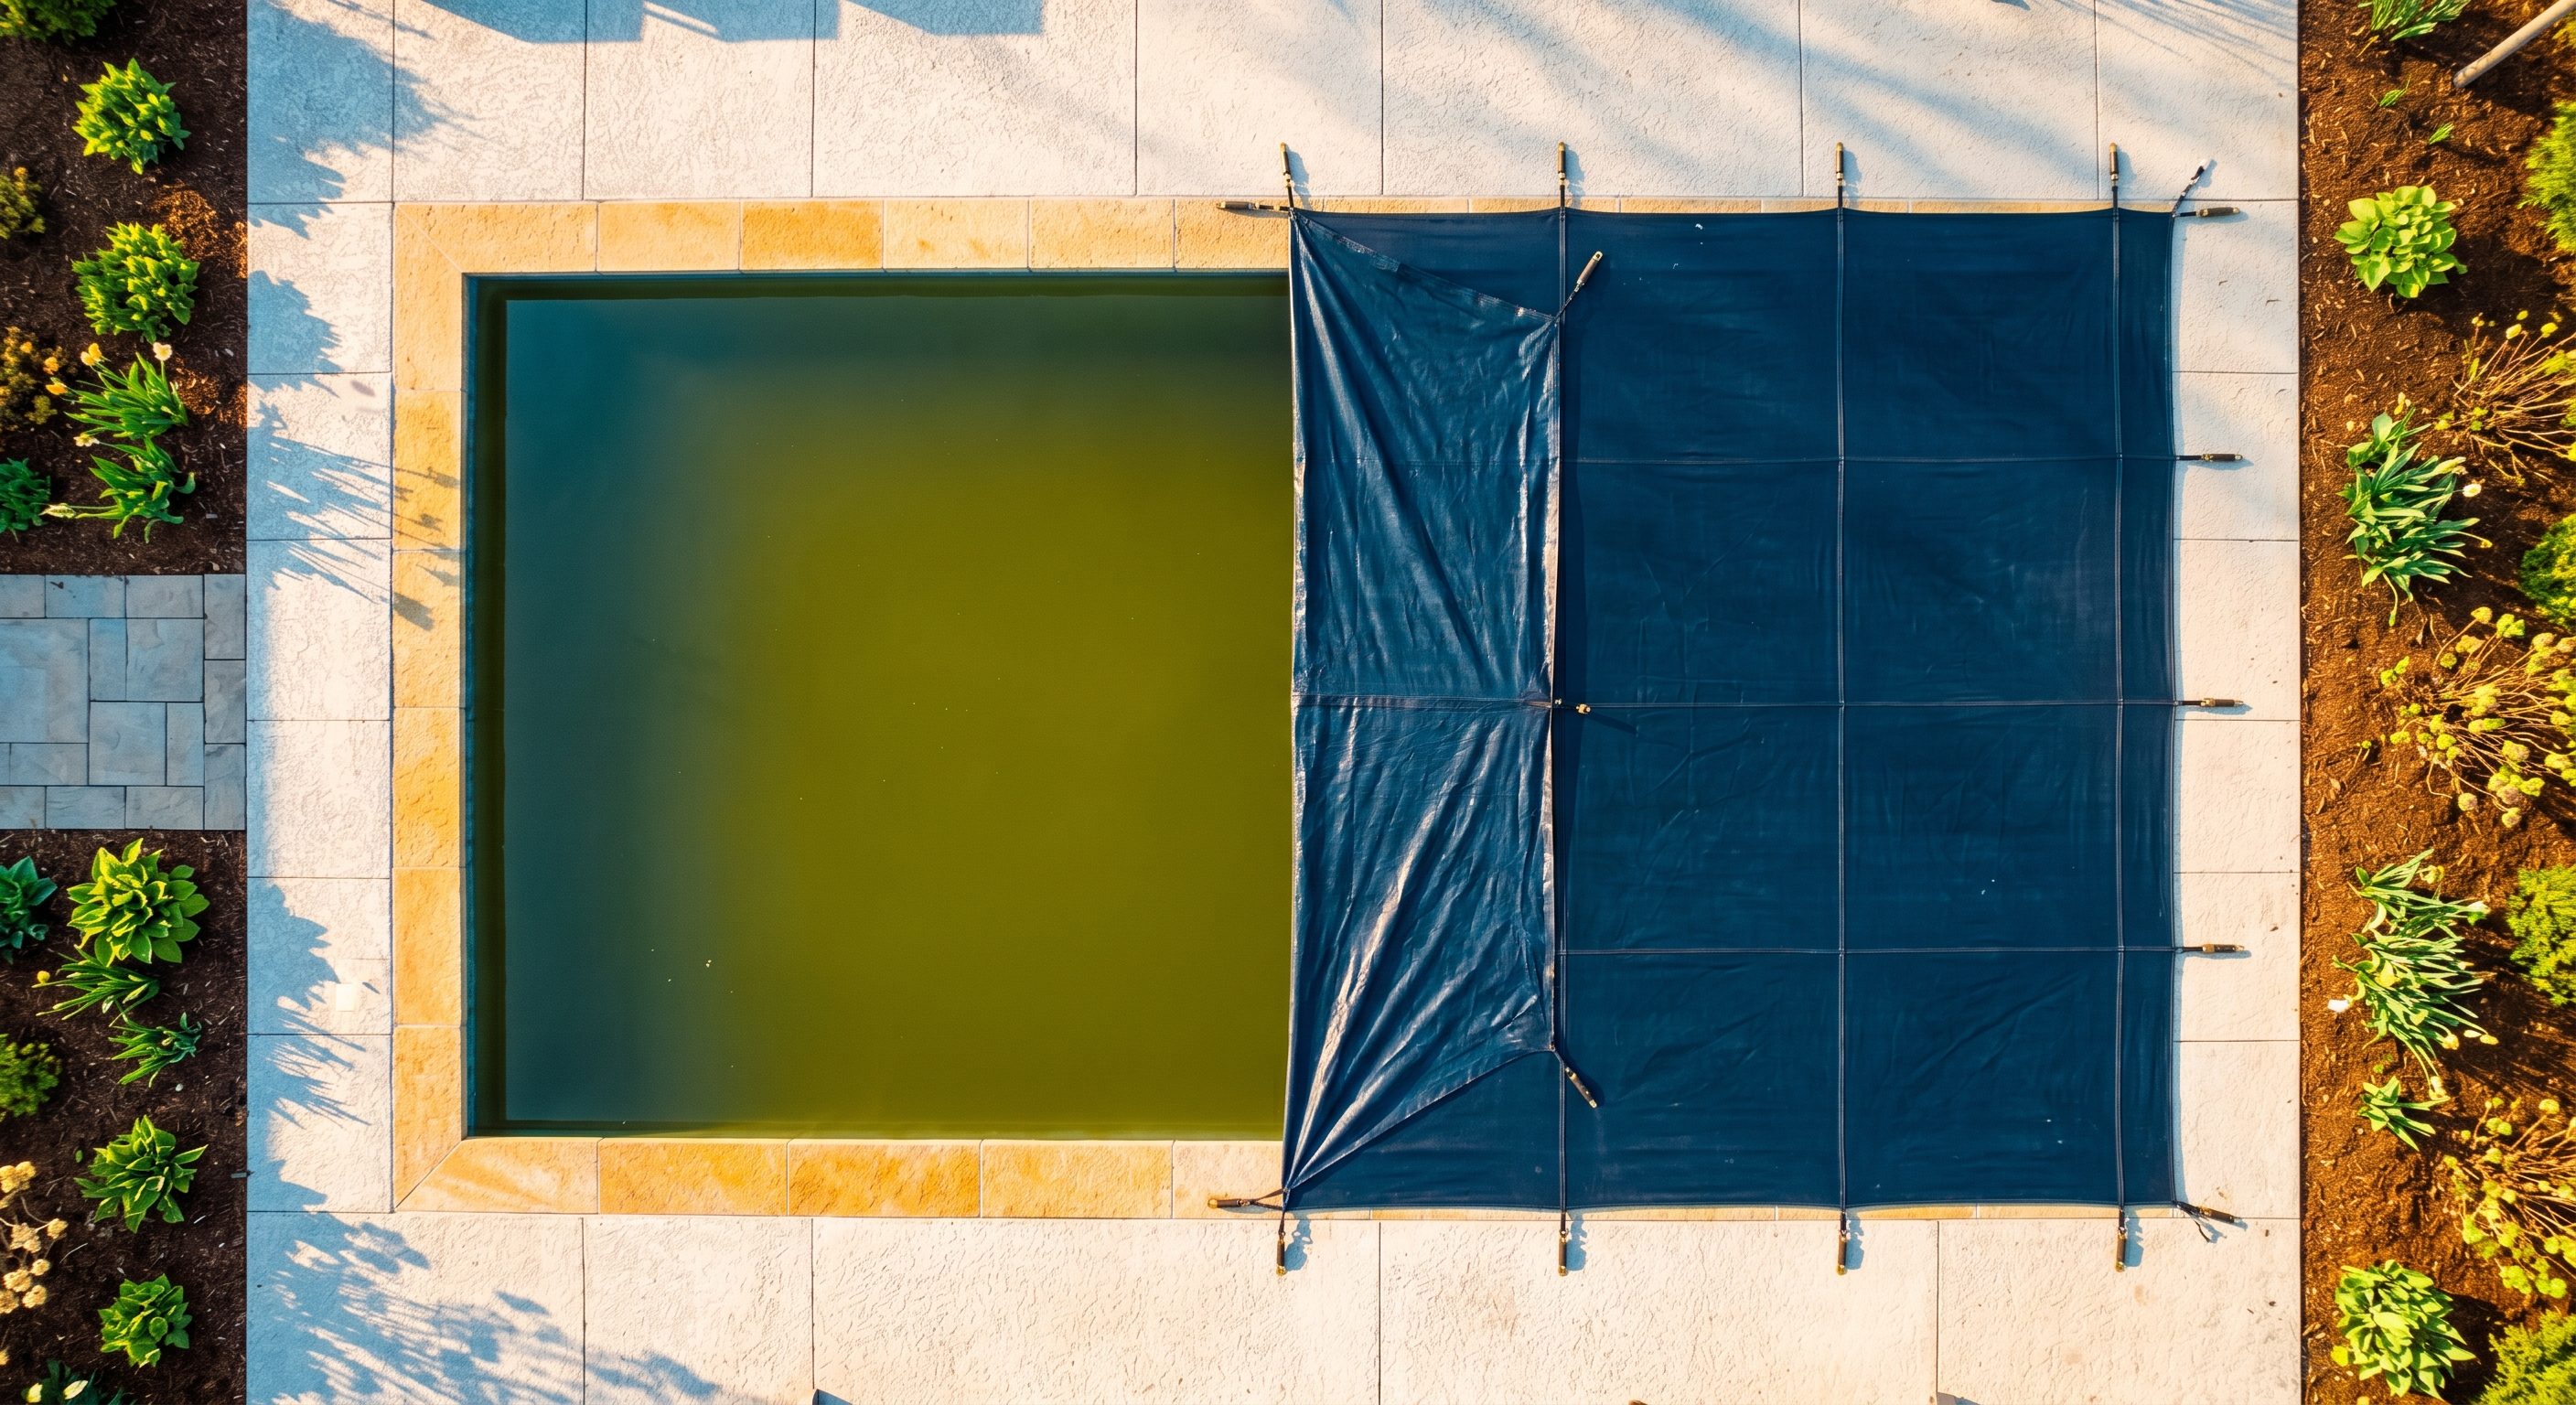
- Algae bloom under the cover. Water above 70°F supports active algae growth. Even a heavy shock loses chlorine to UV during the closing week and the residue under the cover is not enough. By March you have a swamp.
- Wasted chlorine. Chlorine breaks down fast in warm water. The shock you pay for in September is largely gone by November.
If you are unsure, buy a $10 floating thermometer and check it for a week. When it reads 60–65°F at 8 a.m. for three mornings, it is time.
Balance Water Chemistry Before Closing
Test first, then adjust. Before you shock or cover anything, take a full set of readings with a drop-based kit (test strips are not precise enough for closing math). Get your numbers into these ranges:
| Parameter | Target for closing | Why this range |
|---|---|---|
| pH | 7.2 – 7.4 | Slightly lower than summer target; pH naturally rises over winter as CO2 leaves |
| Total alkalinity | 80 – 120 ppm | Buffers pH against the small shocks of freezing and thawing |
| Calcium hardness | 200 – 400 ppm | Below 200 ppm, water leaches calcium from plaster; above 400 ppm risks scale |
| CYA (stabilizer) | 30 – 50 ppm | Protects winter chlorine from any sunlight that reaches the cover edge |
| Free chlorine | 3 – 5 ppm (pre-shock) | Baseline before the closing shock |
For a deeper breakdown of each parameter and why these ranges exist, the pool water chemistry guide walks through the full interactions.
Two notes from experience:
- Lower pH on purpose. Closing at pH 7.2 buys you headroom. Winter pH almost always drifts up. If you close at 7.6 you may be looking at pH 8.2 in April, which means scale, cloudy water, and a chlorine that cannot do its job.
- Get alkalinity above 80 ppm even if you usually run lower. A freezing/thawing cover edge does odd things to surface chemistry, and an unbuffered pool can swing 0.5 pH in a week.
Adjusting before the shock
| Adjustment | Dose per 10,000 gallons | Wait before next test |
|---|---|---|
| Raise pH 0.2 (for example 7.0 → 7.2) | 6 oz soda ash (sodium carbonate) | 4 hours |
| Lower pH 0.2 (for example 7.6 → 7.4) | 12–16 oz 31.45% muriatic acid | 4 hours |
| Raise alkalinity 10 ppm | 1.5 lb sodium bicarbonate (baking soda) | 6 hours |
| Lower alkalinity 10 ppm | Add muriatic acid in 12 oz doses; aerate to restore pH | 24 hours |
| Raise calcium hardness 10 ppm | 1.25 lb calcium chloride | 6 hours |
| Raise CYA 10 ppm | 13 oz cyanuric acid (stabilizer) | 5–7 days to fully dissolve |
Always add chemical to water, never water to chemical. Never mix two pool chemicals together in the same bucket; chlorine and acid combined produce chlorine gas, which has killed people. Wear chemical-resistant goggles and gloves. Store everything in the original container, in a cool dry shed, with chlorine on one shelf and acid on another.
The pool chemical calculator guide covers the math behind these doses if you want to verify by hand. If you would rather not do the arithmetic, the Poolably app (iOS only) calculates exact pre-close doses from your current readings and pool volume and generates a printable closing checklist.
The Closing Shock and Polyquat Algaecide
After your water is balanced, shock to about 3× your normal target free chlorine. For a typical residential pool with 30–40 ppm CYA, that means raising free chlorine to 10–12 ppm. For pools running 50 ppm CYA, push to 15–20 ppm.
| CYA level | Closing-shock free chlorine target | Liquid chlorine (12.5%) per 10,000 gal |
|---|---|---|
| 30 ppm | 12 ppm | ~125 oz (just under 1 gallon) |
| 40 ppm | 16 ppm | ~165 oz (about 1.3 gallons) |
| 50 ppm | 20 ppm | ~205 oz (about 1.6 gallons) |
| 60–70 ppm | 24–28 ppm | ~250–290 oz (about 2 gallons) |
These amounts assume you are starting from roughly 3 ppm free chlorine. Test first; if your starting FC is already lower or higher, adjust accordingly. The relationship between CYA and the chlorine needed to actually sanitize is one of the most misunderstood parts of pool chemistry; the CYA and chlorine relationship article explains the math.
Run the pump for at least 4 hours after shocking. Test again the next morning. If free chlorine has held above 8 ppm overnight, you are good. If it dropped fast, you have a chlorine demand problem (likely early algae) and need to hold shock level for a few days before closing.
Polyquat algaecide
After the shock has come back down to 5–10 ppm (24–48 hours later), add a polyquat 60 algaecide. Use 16 oz per 10,000 gallons for closing, twice the normal in-season preventive dose. Polyquat is a long-chain polymer that physically captures algae cells; it does not break down quickly in cold water, which is exactly what you want under a cover for five months.
A few things to avoid:
- Skip copper-based algaecides. They stain plaster blue-green and stay in the water for months.
- Skip "quat" (non-polymer) algaecides. They foam in cold water and break down faster than polyquat.
- Skip the prepackaged "winter kits." They typically contain a half-strength shock, a small bottle of polyquat, and a stain-and-scale chemical you may not need, marked up to $80–$120. Buying the components separately costs $30–$50 for the same pool.
Lower the Water Level
For an inground pool with a solid cover and a cover pump, lower the water 4–6 inches below the bottom of the skimmer mouth. For a mesh safety cover, lower it 12–18 inches because rain and snowmelt will pass through and raise the level over winter.
Use the filter's "waste" or "drain" setting, or a submersible pump dropped over the side. Stop lowering once you reach the target — never drain to empty. Hydrostatic pressure from groundwater can float a fiberglass shell or crack a vinyl liner over the winter. If you have an above-ground pool, the same rule applies: lower to below the skimmer and return jets, not to the bottom.
The water needs to be below the skimmer and below the return jets before you blow out the lines. Standing water in the skimmer or jet body will freeze and crack housings. I lost a return fitting once because I rushed this step.
Blow Out the Plumbing Lines
Standing water in your plumbing will freeze, expand, and split PVC. This is the single most expensive winterization failure. Underground return lines can cost $2,000–$5,000 to dig up and replace. Above-ground equipment housings (pump volute, filter manifold, heater header) run $200–$800 each.
The process:
- Detach the pump and filter from the system. Open all valves. Remove drain plugs from the pump, filter, and heater (label which goes where — they are different threads).
- Connect a blower to the skimmer or pump. A wet/dry shop vac on "blow" works for small pools (15,000 gallons and under). For larger systems, rent a Cyclone blower or use a small air compressor at low pressure.
- Blow each line until you see steady bubbles, then 30 more seconds. Start at the skimmer, then the main drain, then each return jet, one at a time, by closing all other valves and opening only the line you are clearing.
- Plug each line at the return jet with an expansion plug (a "Gizmo" for the skimmer, threaded plugs for returns). Tighten until snug — overtightening cracks the fitting.
- Pour pool-grade propylene glycol antifreeze into each line through the skimmer or return. A common ratio is 1 gallon of antifreeze per 10 feet of underground pipe. For most residential pools, 2–4 gallons total is enough.
Never use automotive antifreeze in pool lines. Ethylene glycol is toxic to people, pets, and wildlife. Pool-grade propylene glycol costs $10–$15 a gallon and is non-toxic.
Never use automotive antifreeze. Ethylene glycol is toxic to people, pets, and wildlife — and in spring, all of it ends up in the pool. Pool-rated propylene glycol is non-toxic, costs $10–$15 a gallon, and disperses harmlessly into a few thousand gallons of water.
If you cannot blow out lines yourself, this is the one step where I would hire a local pool company. Around $150–$300 for a closing service that includes blow-out is much cheaper than a cracked main drain line.
Winterize the Equipment
Each piece of equipment has its own freeze risk. Walk through each one:
| Equipment | What to do |
|---|---|
| Pump | Remove drain plugs (usually two). Open the strainer lid. Store the lid and plugs in the basket so you can find them. |
| Filter (sand) | Set multiport valve to "winterize" (between positions). Remove the drain plug at the bottom of the tank. Leave sand in place. |
| Filter (cartridge) | Remove cartridges, rinse, store dry indoors. Remove tank drain plug. Cover the open tank. |
| Filter (DE) | Backwash, then remove grids if possible and store indoors. Remove drain plug. |
| Heater (gas) | Drain via the header drain plug. Cover the exhaust vent to keep rodents out. |
| Heat pump | Drain the heat exchanger. Wrap with a breathable cover, not plastic (traps moisture). |
| Salt cell | Remove, inspect, clean if calcified (1:10 muriatic acid soak for 5–10 minutes max), store indoors. |
| Chlorinator | Empty all tablets — never leave trichlor in a closed system over winter. Remove and rinse. |
| Automatic cleaner | Disconnect, rinse, store indoors. UV and freezing both destroy the hoses. |
For a salt pool, removing and cleaning the cell before storage is the difference between a 7-year cell life and a 3-year cell life. I scrub mine with a wooden popsicle stick (never metal, which scratches the plate coating) and only acid-soak if there is visible scale.
Install the Winter Cover
The cover is the last step, and the wrong choice costs you all winter.
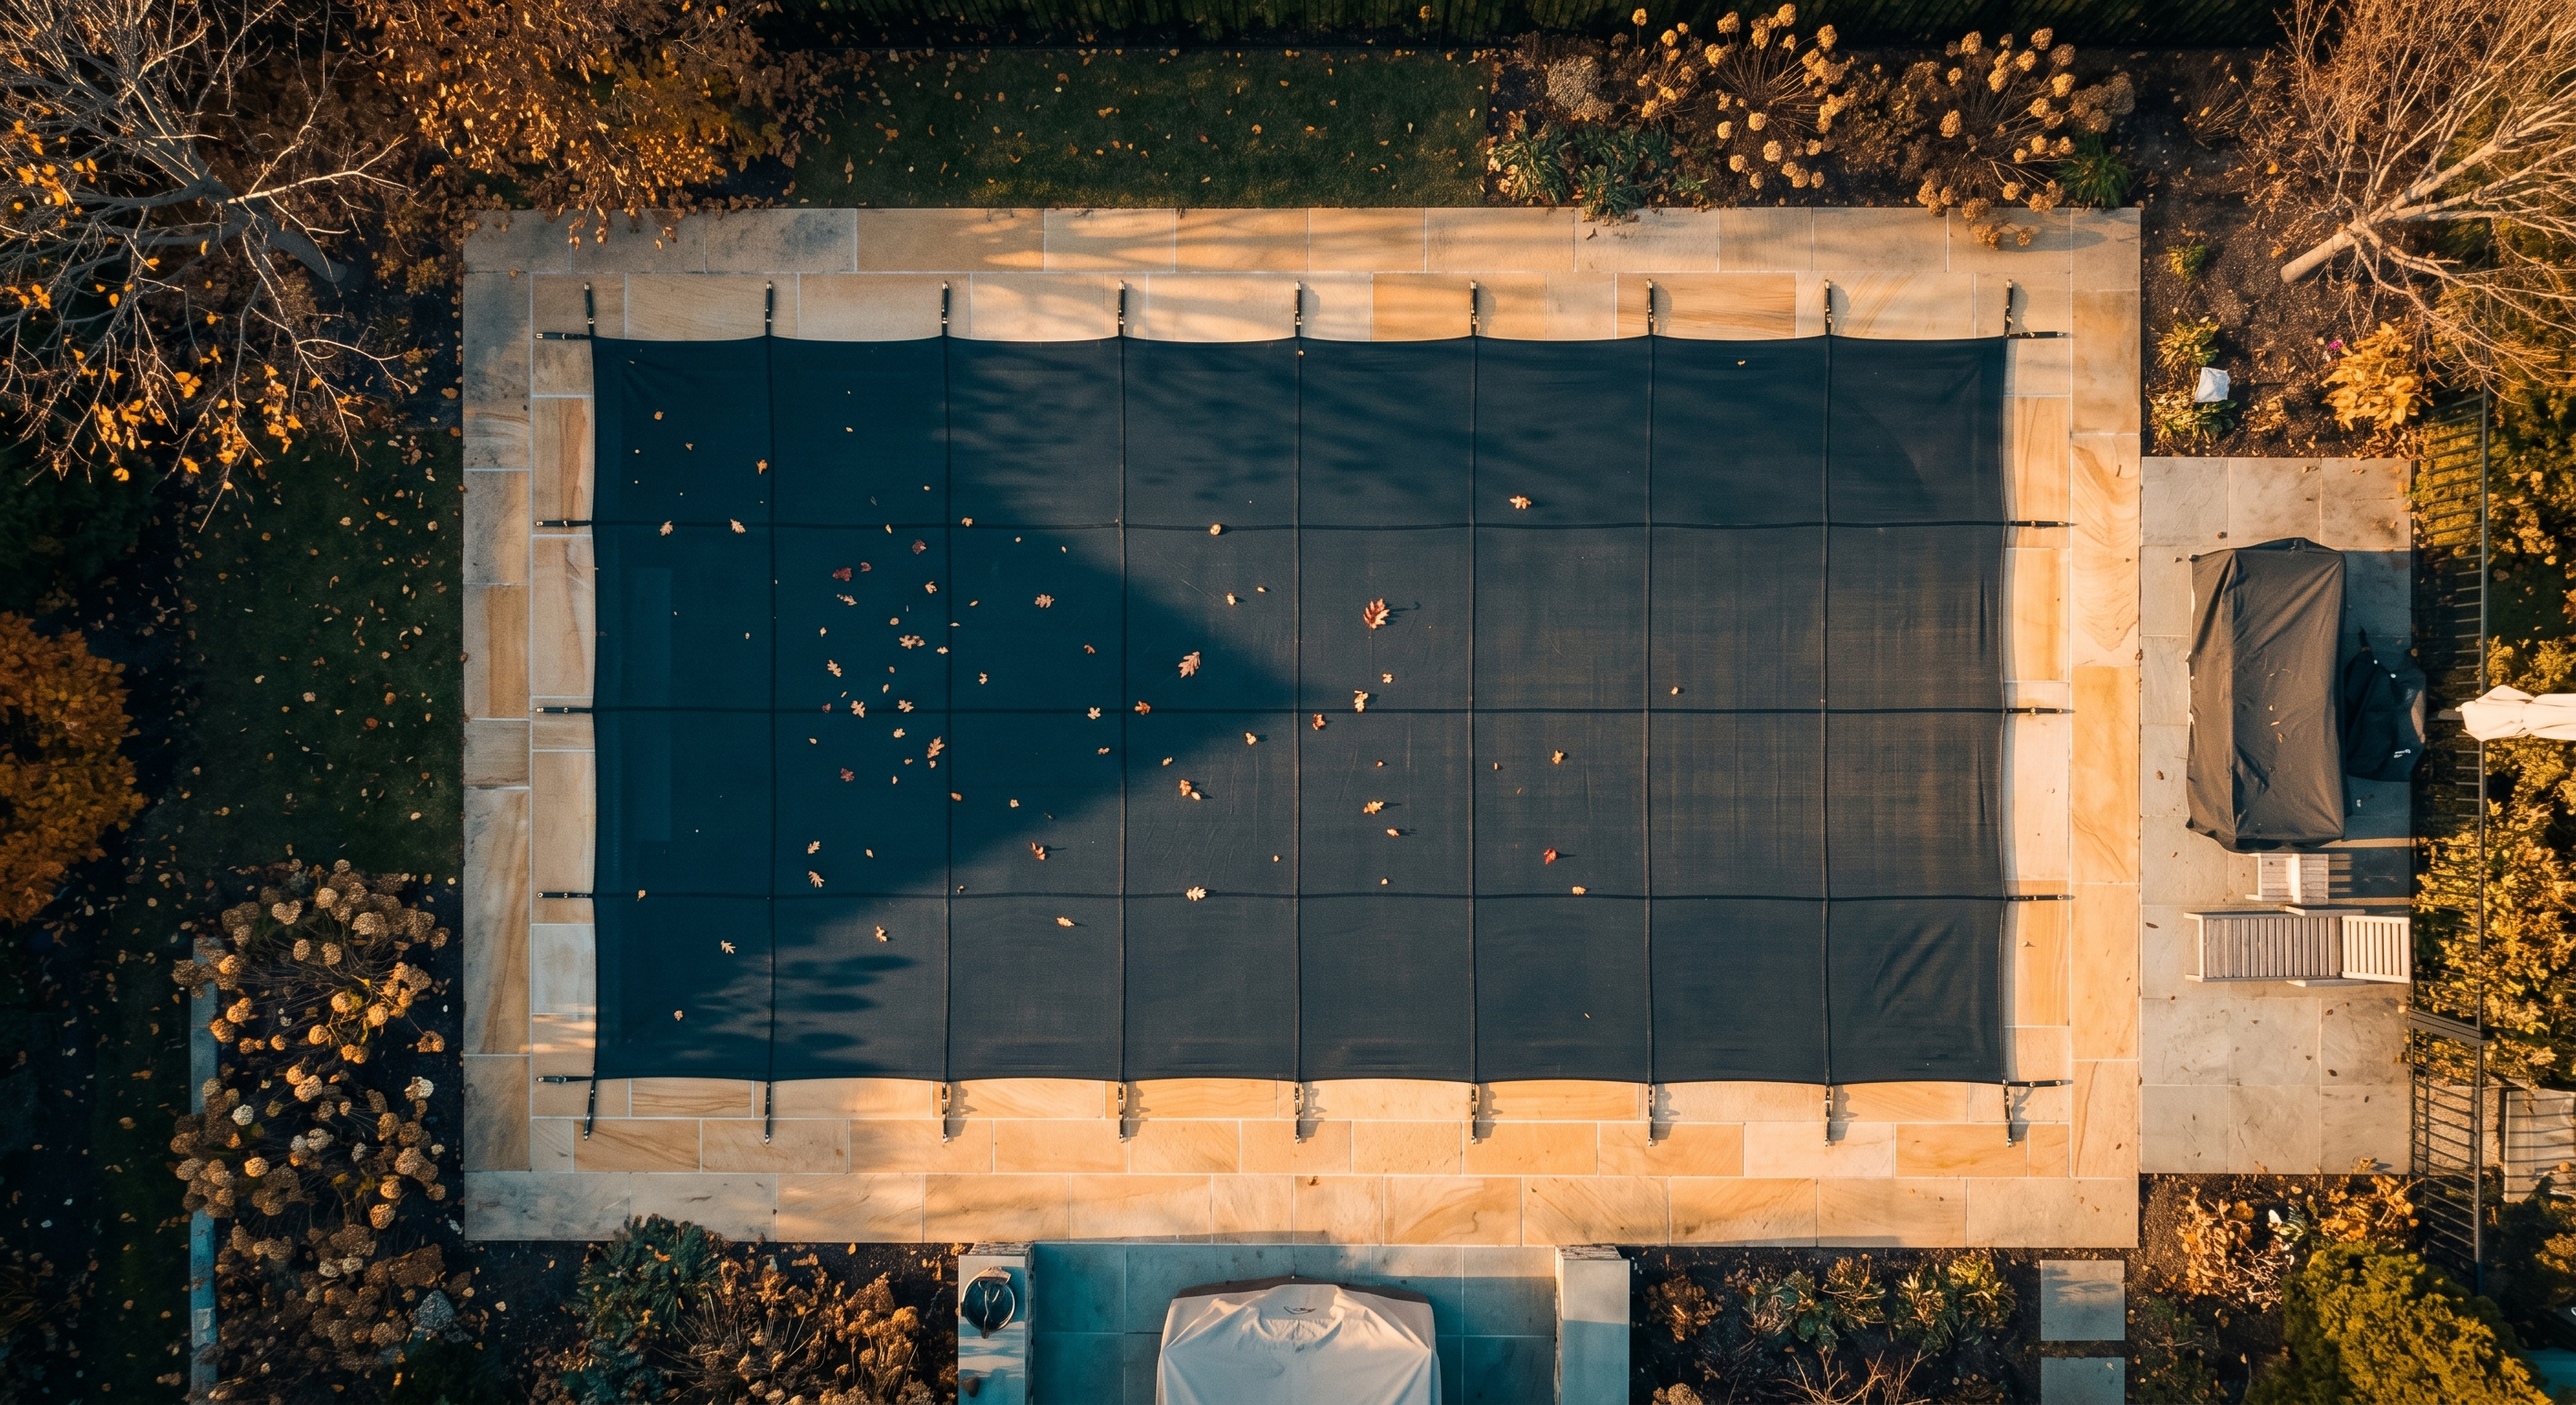
Solid cover with water bags or weights: Cheapest option. Blocks all sunlight, which kills any surviving algae and prevents new growth. Pools dirty water and leaves on top — you need a cover pump and you need to clear debris through the season. Not safety-rated; do not use if children, pets, or wildlife visit the yard.
Mesh safety cover (anchored): Most expensive ($1,500–$3,000 installed). Anchored to deck with brass anchors and stainless springs. Holds 4,000+ pounds (a child or pet will not break through). Lets rain and light through, so water gets dirtier and you need a heavier opening shock. Lasts 12–15 years.
Solid safety cover: Hybrid — anchored like mesh but solid like a tarp. Heavy, pools water, holds weight. Expensive and finicky.
Cover installation details that matter
- Air pillows under solid covers. Use one 4×8 ft pillow per 15 ft of pool length, centered. The pillow takes the pressure of ice expansion off the walls — without it, expanding ice can push out vinyl liner walls or crack tile. Inflate to about 50–60% full so it can absorb pressure.
- Cover pump for solid covers. Add a submersible cover pump from day one. A solid cover that fills with rainwater will rip its grommets, sag into the pool, and dump leaves and dirt directly into your water.
- Anchor tension for safety covers. Use the supplied installation tool to tighten each spring until you can slide three fingers (about 1 inch) between the spring and the deck. Too tight tears the cover; too loose lets it sag.
- Replace torn straps and rusted springs every closing. A torn strap concentrates load on its neighbors and tears the whole cover. Replacement straps run $20–$40 each.
A cover I had to replace mid-winter because I skipped checking the straps cost me $1,800. Now I check every strap every October.
What to Check During Winter
Walk by the pool once a month if you can:
- Cover pump is running and discharging. A frozen or clogged pump means standing water on a solid cover.
- No visible tears, sagging, or rodent damage. Mice will chew through covers to nest in pool pillows.
- Anchor springs still under tension (safety covers).
- Water level still above the main drain. If the level drops to the drain mouth in a deep freeze, you can damage it.
If you live somewhere with mid-winter thaws (the Mid-Atlantic, parts of the Midwest), pop the cover edge on a 50°F day in February and test free chlorine. If it reads under 1 ppm, add a half-dose of liquid chlorine (32 oz of 12.5% per 10,000 gallons) and reseal.
Common Closing Mistakes That Cost the Most
In rough order of cost:
- Skipping the line blow-out. Cracked underground lines, $2,000–$5,000. Found in April when you cannot hold water.
- Closing with high pH and high calcium. Causes scale on every surface. Sometimes recoverable with acid; sometimes requires draining and acid-washing.
- Closing too warm. Algae bloom under cover. Opens green, costs an extra 4–6 gallons of liquid chlorine and a week of work.
- No air pillow under a solid cover. Vinyl liner wall damage from ice expansion. $1,500+ for a new liner.
- Leaving tablets in the chlorinator. Trichlor sitting in a closed system corrodes the chlorinator housing and the lines downstream. Expensive replacement and a stain risk.
- Using a chemical winter kit instead of dosing manually. Wastes money and underdoses preventive algaecide.
The flip side: a careful close turns a pool opening into a 90-minute job. The pool opening checklist walks through what spring looks like when winterization was done right.
When You Do Not Need This Much Process
Two situations where a simpler close is fine:
- Year-round climates (south Florida, southern California, south Texas). If your ground never freezes and your water stays above 50°F all winter, you are not "winterizing" — you are running an off-season. Keep the pump on, keep chlorine in range, skim weekly. Skip everything in this article except the chemistry balancing.
- Indoor pools. No freeze, no UV, no leaves. Lower the chemical run rate and run the pump less. Done.
Everywhere else, the steps above are not optional — they are what protects $5,000 to $40,000 worth of pool and equipment through five months of weather you have no control over.
Quick Reference Checklist
Use this as a summary; come back to the sections above for the details. A more compact version lives at the pool closing checklist.
- Wait for water temperature below 65°F for 3+ days.
- Test full panel: FC, CC, pH, TA, CH, CYA.
- Adjust to pH 7.2–7.4, TA 80–120, CH 200–400, CYA 30–50.
- Shock to 3× normal target FC (10–20 ppm depending on CYA). Run pump 4+ hours.
- Wait 24–48 hours; add 16 oz polyquat 60 per 10,000 gallons.
- Lower water to 4–6 inches below skimmer (solid cover) or 12–18 inches (mesh).
- Remove drain plugs from pump, filter, heater. Drain salt cell, store indoors.
- Blow out each line in sequence; plug each return; add 1 gallon antifreeze per 10 ft of pipe.
- Install pillow (if solid cover), then cover; tension springs (if safety cover); install cover pump.
- Check monthly through winter.
The whole process takes one careful day for a pool you have closed before, or two days the first time. Every hour you spend in October buys you a clean, easy opening in April — which is when you actually want to be in the pool.
Sources
- CDC, Model Aquatic Health Code (MAHC), 3rd Edition, 2018.
- Pool & Hot Tub Alliance, ANSI/APSP/ICC-11 Water Quality Standard, 2019.
- Trouble Free Pool, Pool School — Closing a Pool, 2024.
- BioGuard, Polysheen Blue (Polyquat 60) product label, 2023.
- Anderson Manufacturing, Pool Antifreeze Safety Data Sheet, 2022.
- Author experience closing a 22,000-gallon inground pool in zone 6a, 2017–2026.
Frequently Asked Questions
Vlad Kuzin
Pool owner and builder of the Poolably app. I got tired of guessing at chemical doses, so I built a calculator that does the math.